Monday, August 26, 2013

Mom's Skirt To Girl's Dress DIY

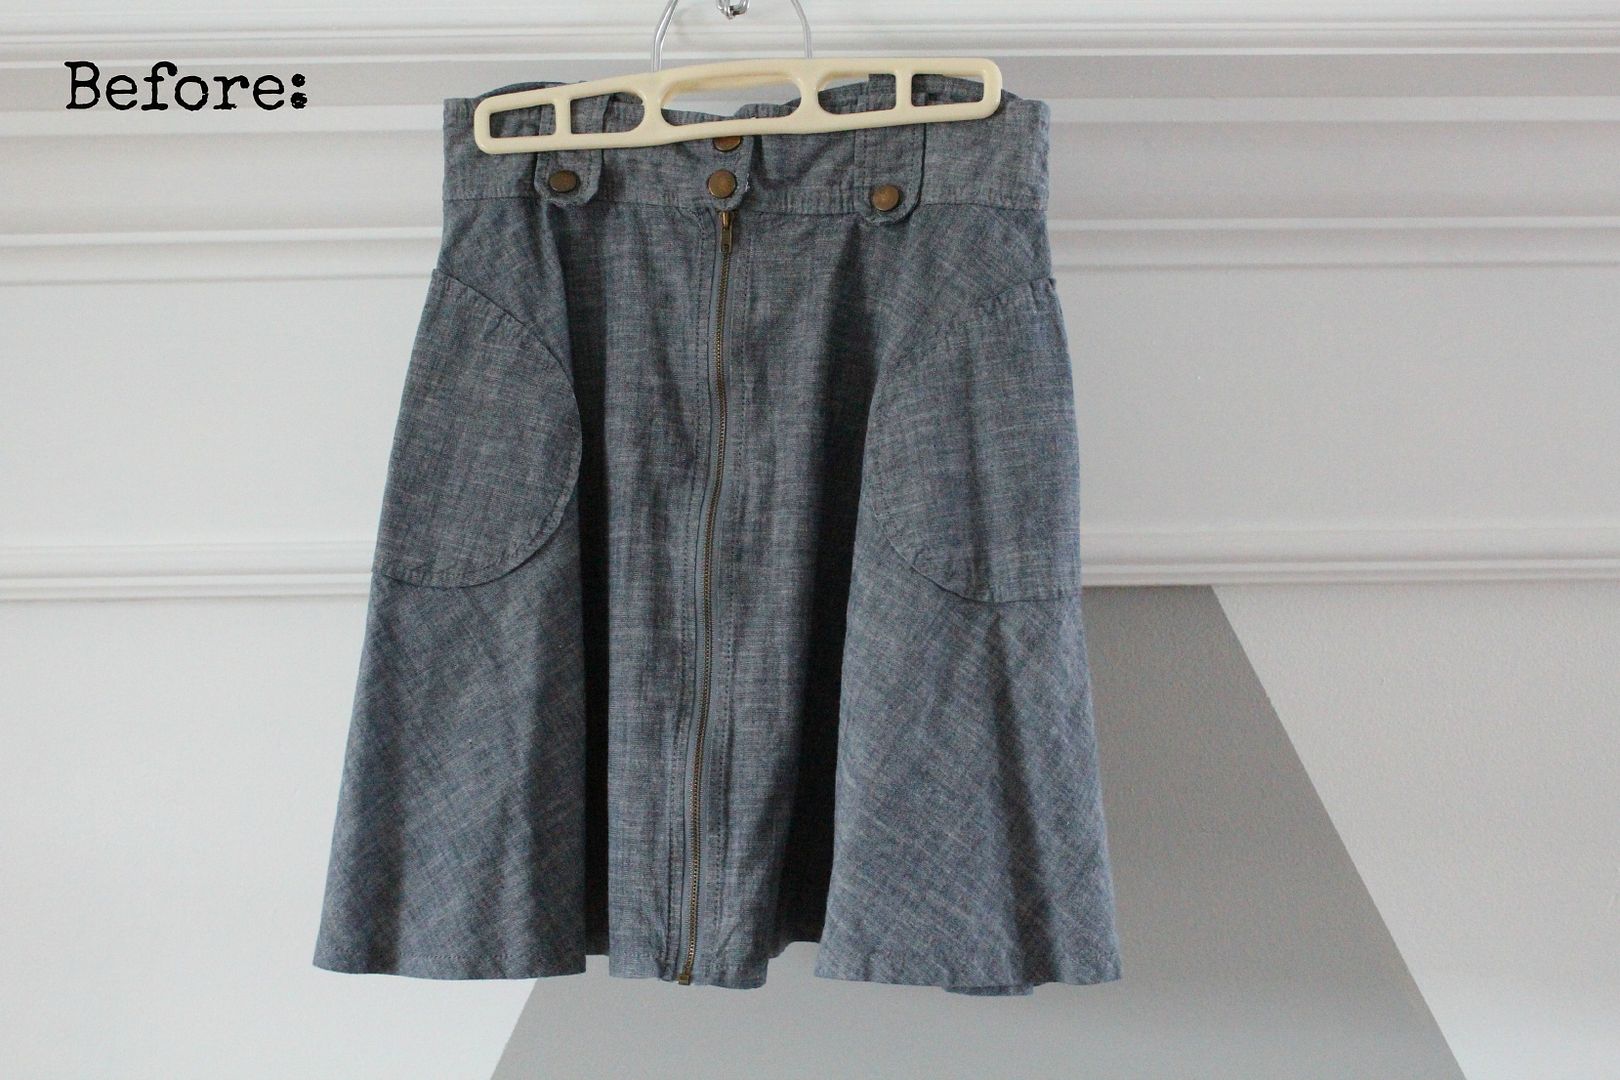
It started with this skirt. I liked it but for some reason I never wore it. 
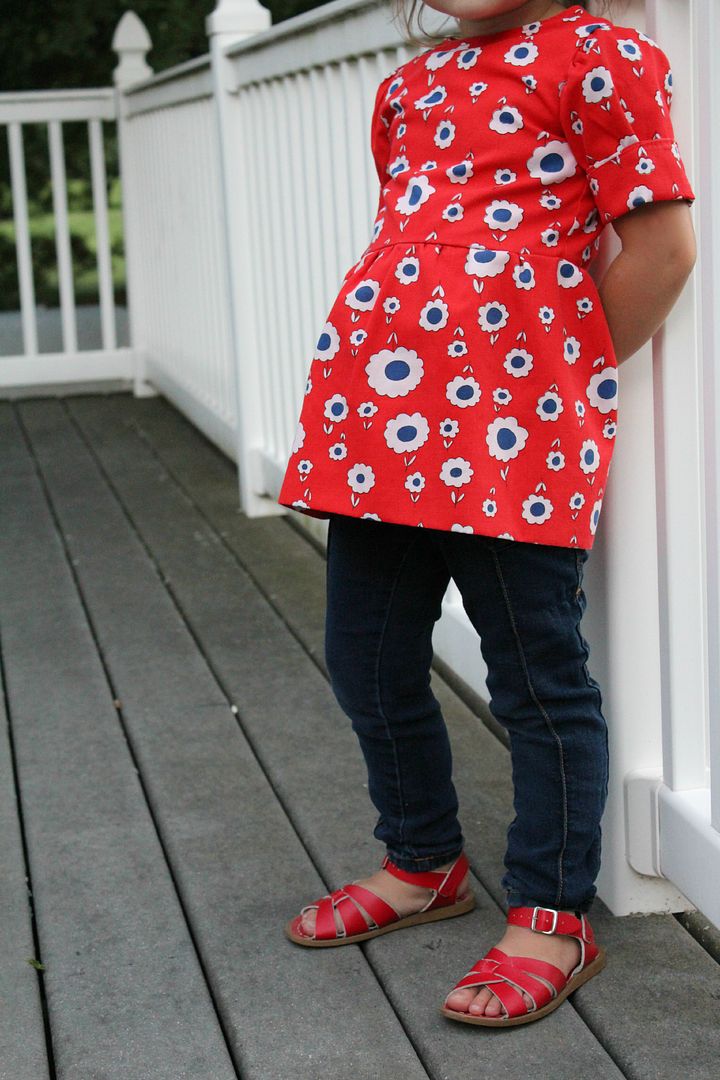
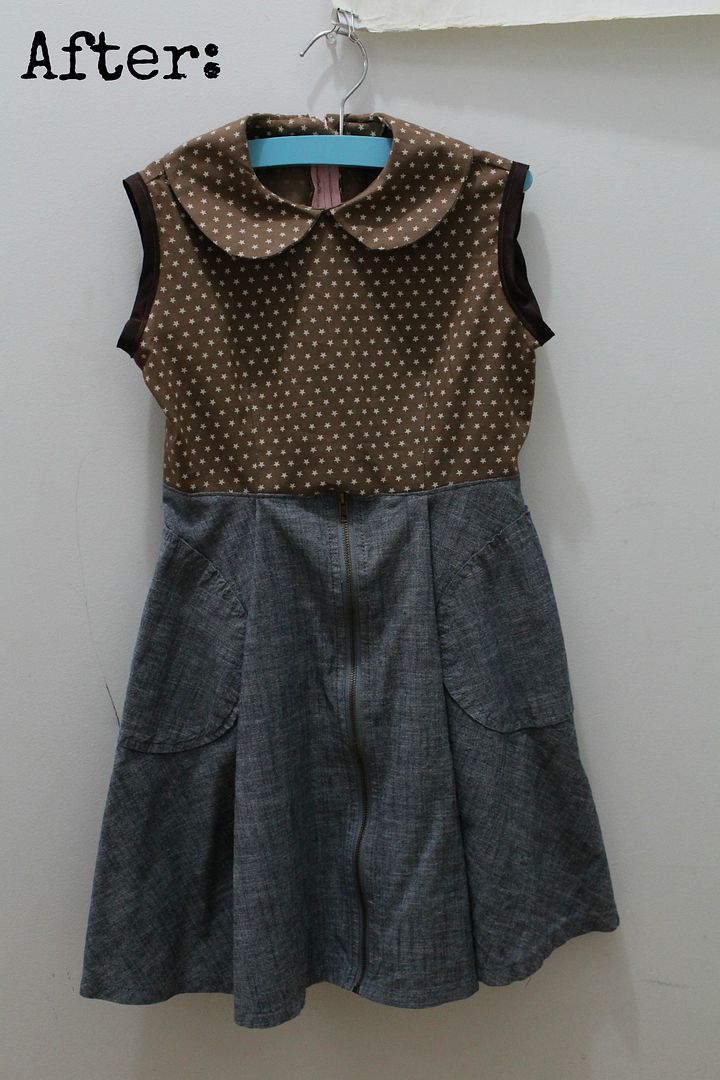
So I decided I'd rather have a dress for little  Miss Liv to wear.
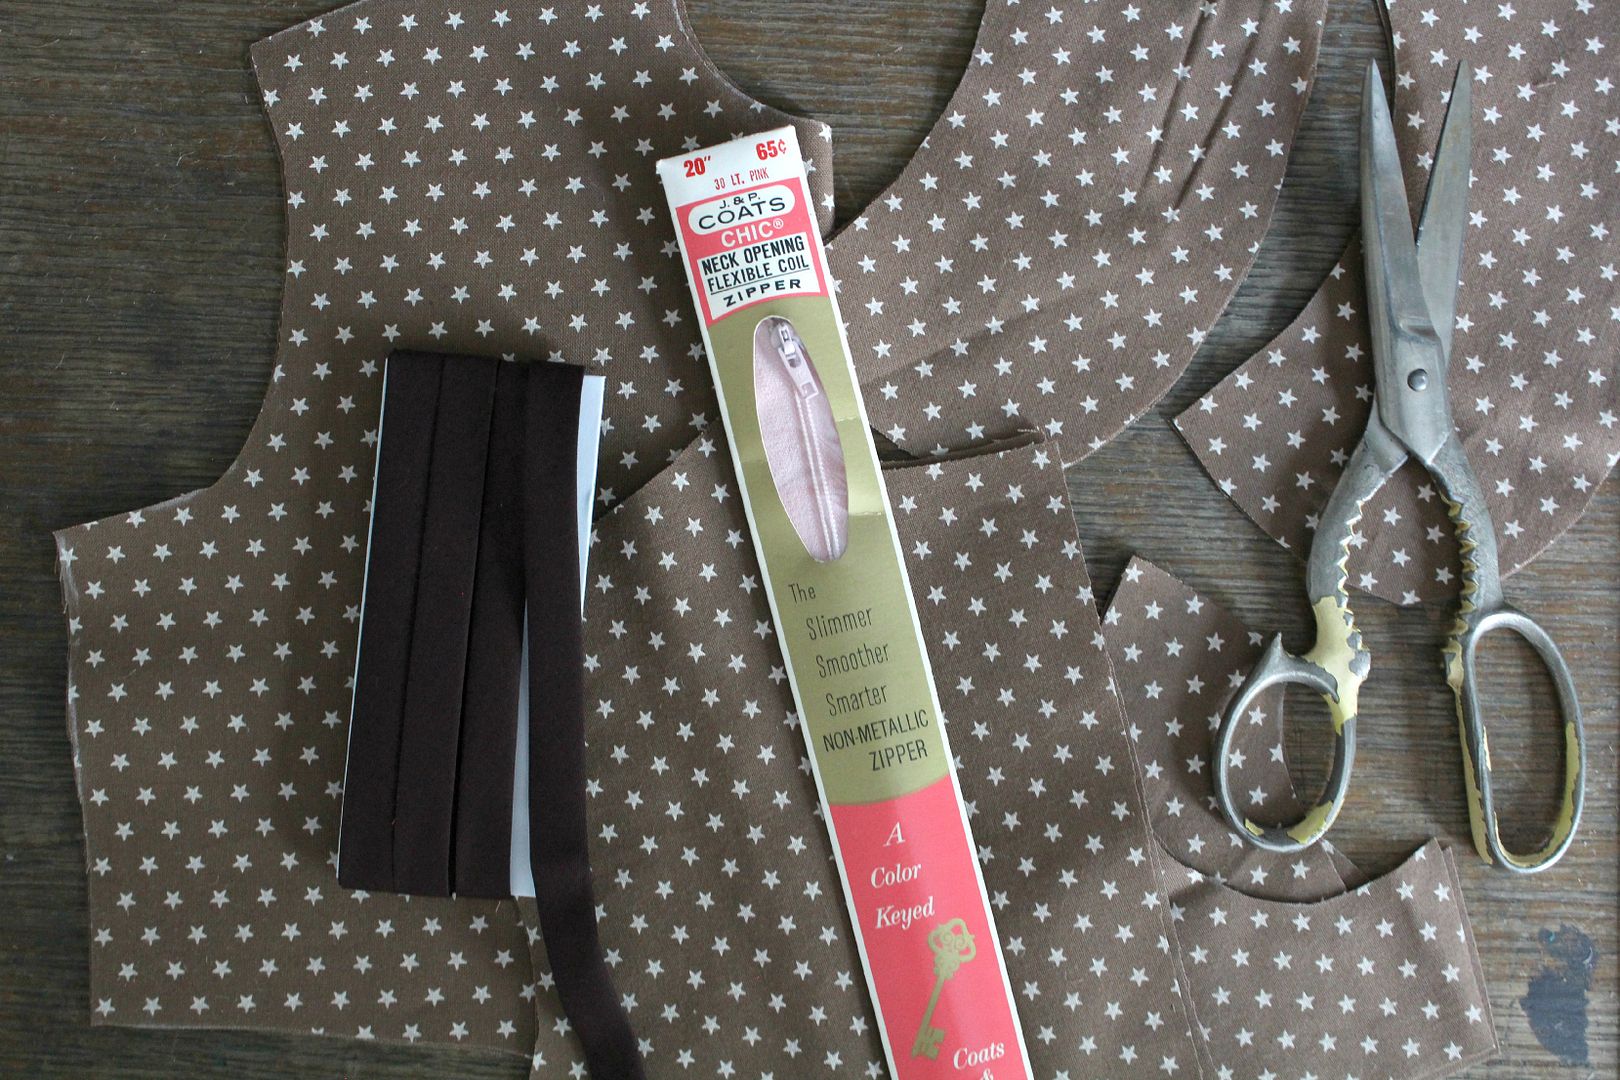
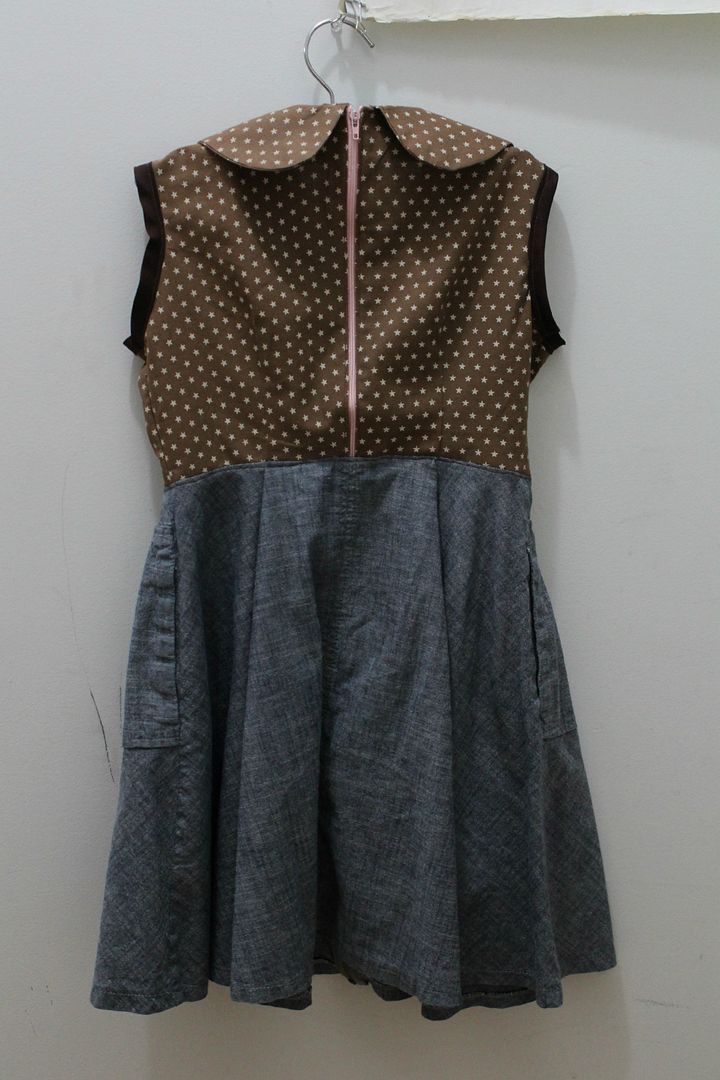
I assembled the bodice first, cut the waist off of the skirt, and then sewed the skirt onto the bodice.
Little Miss Liv is pleased and is wearing it as I write this. :)
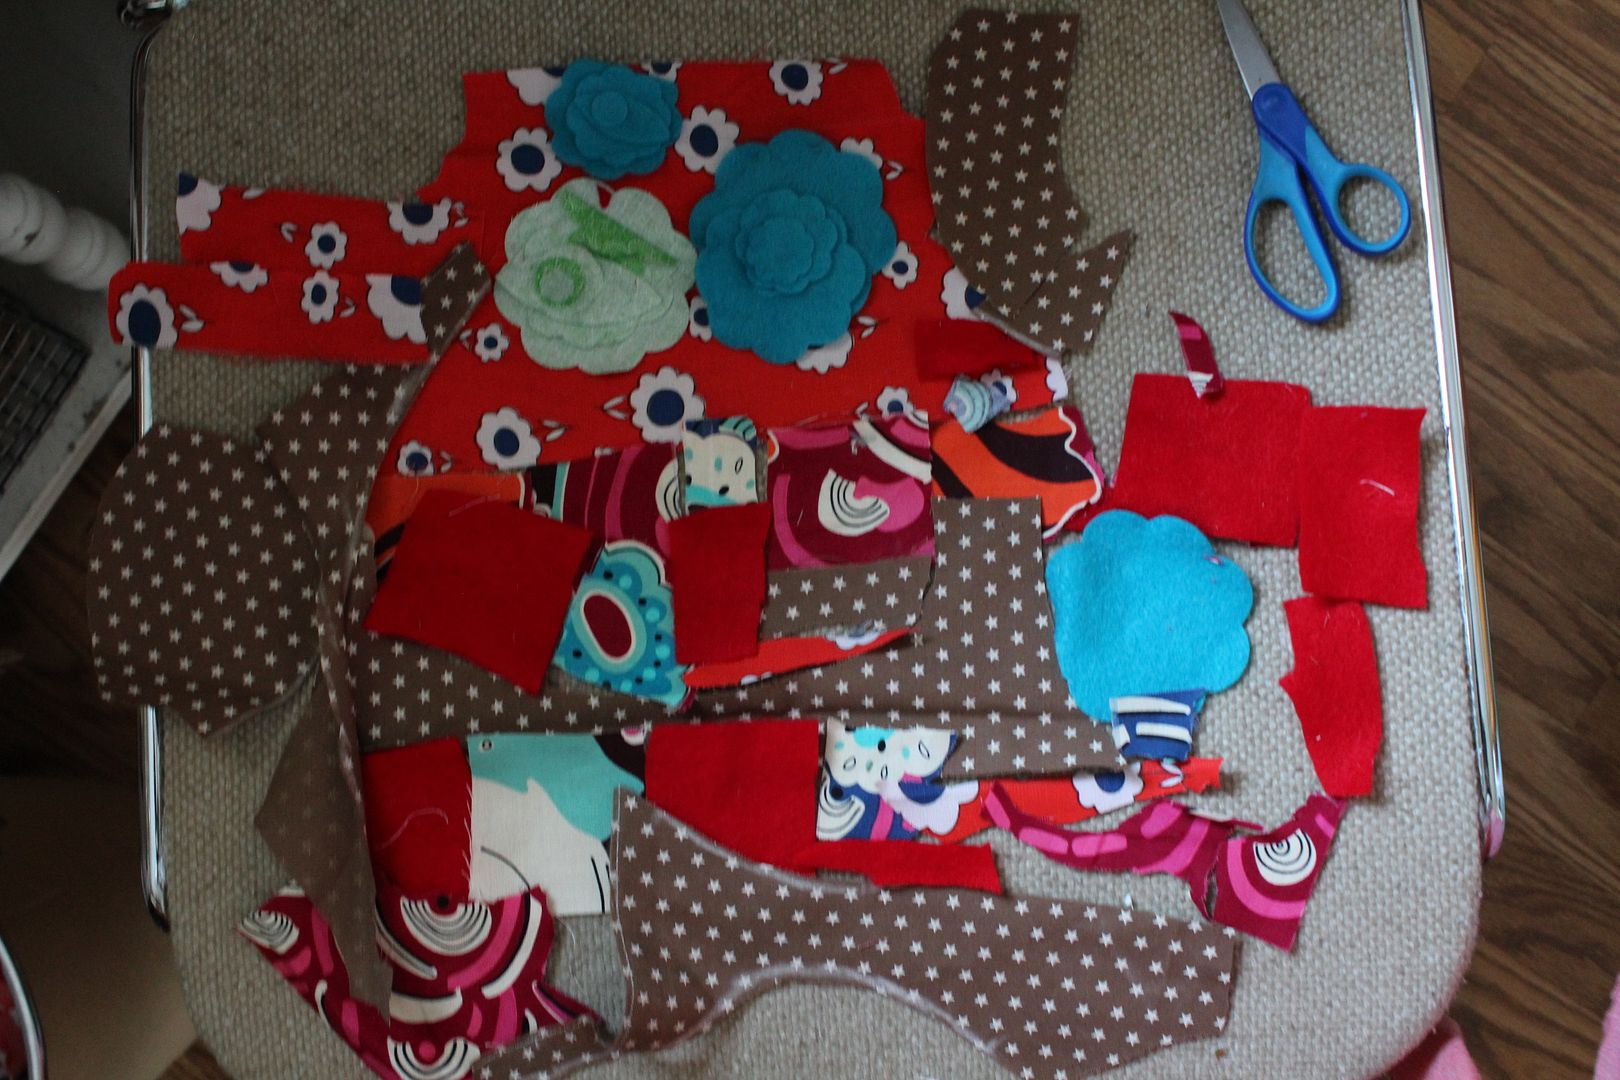
She was "making a dress" for her little sister while I made her dress.
Isn't it lovely!? ;)
Happy Sewing!

Sylvie

P.S. Thank you so much to my sweetest Mother In Law for sending me the cute star fabric! 
You're the best! :)

Saturday, August 24, 2013

Plus Sign/ Swiss Cross Stamped Baby Blanket DIY Tutorial

I've been liking the plus sign/ Swiss cross blankets I've seen around the web. But. They are all out of my price range. So I figured out a simple and cheap way to make one for my little one! Here is how...

You will need:
1 Sheet of Craft Foam
Xacto Knife
Hot Glue or Super Glue
Pencil/ Pen
Blanket
Fabric Paint
Sponge Brush/ Paint Brush 
Paint Tray
Freezer Paper or Wax Paper

First, draw your shape onto the craft foam. 
Cut out your shape three times. Also cut out two or three smaller pieces to use as a handle.
Glue your pieces all in a stack, with like pieces together.
Lay your blanket out on freezer paper to protect your work surface.


Using your sponge and paint brushes, put a good thick layer of paint onto your foam stamp.
Place it straight down onto your blanket. Press all over it to be sure the fabric is gathering all the paint.
I used a paintbrush for a ruler to measure and mark where the center of my next stamp should be. 
Once the paint has dried, repeat on the other side of blanket.
You could do all different shape stamps! 
Have fun!

Sylvie

Wednesday, August 14, 2013

Unexpected Targets, Unexpected Visitor, and Life With Little Ones

"Mom! There is a bee nest in the tree, and I shot it with my bow!"

Sometimes kids do things that make us jump up from our chair. 
We wonder if they ever think. 
The truth is, they don't always think. 
That's why they are under our care, and not making their own way in this world. 

Sometimes, when all my little ones are sleeping in their beds, 
all I have energy left to to is flop on the couch and read. 
The other night, as I was reading on the couch, I got lost in the words I read. 
I tuned out all of my worries of my home and little ones. 
It felt good. But I was so absorbed, I didn't realize someone had crept up on me. 
Someone else still needed my care. 
And this time it wasn't one of my own. 
This little guy was patiently waiting right in the middle of the living room floor! 
He looked up at me at if to say, "Excuse me Ma'am, would you please let me out? 
Your darling little messy faced kid brought me in here, 
and I can't seem to find the door." 

I chuckled to myself, scooped him up, and let him outside. 
"Good night little frog. Watch out for little hands come morning time!"

You just never know what you'll find when your home is bubbling with littles!


Thanks for stopping by! :) 
Sylvie


Monday, August 12, 2013

Best Ever Soft & Chewy Snickerdoodle Recipe

These are the softest, chewiest snickerdoodles you'll ever have!
Have you notices a trend over here? ...soft and chewy cookies are my weakness for sure!

Best Ever Soft and Chewy Snickerdoodles

1 cup Butter; softened
1 1/2 cups White Sugar
2 Eggs
2 tsp Vanilla Extract
1/2 tsp Salt
2 3/4 cups White Flour
2 tsp Cream of Tarter
1 tsp Baking Soda
1/2 tsp Baking Powder
Cinnamon/Sugar Mix 

Preheat Oven 400 degrees. 
In a stand mixer, mix butter, sugar, eggs and vanilla until combined.
Add remaining ingredients, mix until combined. 
Scoop balls of dough into sugar cinnamon mixture(I use a cookie scooper), and roll them around. Place them onto a parchment lined cookie sheet about 3 inches apart. 
Bake for 7-8 minutes. 
Enjoy!
Sylvie

Thursday, August 8, 2013

New Girls Tunics In The Shop

Today there are new tunics in the shop!
There are three available, in sizes 0-3 months18 months, and 3T.

They are handmade by me, using vintage fabric.
Check them out here!

Have a good day! :)
Sylvie

Tuesday, August 6, 2013

Textured Diamond Wall Art Tutorial, A Leather Scrap Project

The wall above my dresser needed a little something. 
So I dug around, found an old frame, and made some art for the space!
I love the texture it has!

Want to make your own?
You will need:
A piece of card stock paper- painted(or just a colored piece)
Glue Stick
Leather Scrap
Scissors
Triangle Stencil(I made mine from card stock)
Hot Glue Gun
Blank White Card Stock Paper
Picture Frame
Use triangle stencil to trace and cut out triangle on painted paper
 and leather 
Use white card stock to cover back of frame- glue down with glue stick.
Glue leather and painted paper triangles onto card stock covered frame back.
Stick it in your frame and that's it! 
Such a fast project. Totally doable in one nap time! :)
Have a good week!
Sylvie


Friday, August 2, 2013

Dining Room Table & Bench Set Redo Photo Tutorial


No extra words today, just some photo inspiration from the Liv house to yours! :) 

-Sylvie